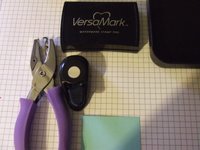
 Supplies:
cardstock
1/16" punch
1/2" punch
white gel pen
versamark pad
glassy glaze or Utee
heat tool
tweezers
powder pal (optional)
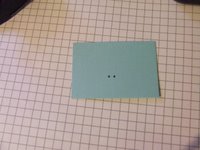 Step 1:
Punch 2 holes with 1/16" punch fairly close together.
 Step 2:
Punch 1/2" circle around 2 smaller holes.
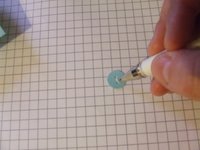 Step 3:
Draw "stitch" between holes with white gel pen.
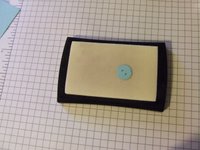 Step 4:
Press into versamark pad
 Step 5:
Press into glassy glaze, remove with tweezers then heat.
 Step 6:
Finished button.
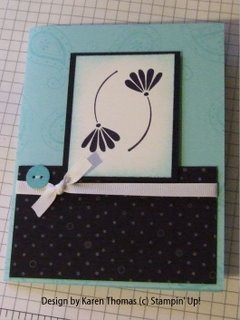 Step 7:
Add to card.
This is the first card I have made in weeks and it took way too long to make and it had nothing to do with the button. I guess I need to do lots more stamping this weekend to get going again.
I used both sketch and color challenges from SCS to help me along. I can't remember what sketch it was but the color challenge was from this week ( Cool Carribean, Basic Black and Whisper White). The stamp set is the free one we got from Stampin' Up! called Polka Dots and Paisley. Very cool.


3 comments:
You ARE Awesome! I can't imagine having the patience to put together a tutorial. It HAD to have been very time consuming! Thanks for doing that. I am going to try the buttons now. Love the card and the color combo.
Happy Stamper
Love that card! Also,GREAT job with the tutorial!Can't wait to see what beautiful projects you have planned for 2007. :o)
I love this card, it's gorgeous!! I want that set, is it going to be available in the new catalogue??
Post a Comment