Wednesday, July 26, 2006

Yea!


It finally worked!

I made this card for one of the classes this week or next. I am going away for the weekend so I wanted to have my cards for next week done before I go.

This card is with Shore Thing and the verse is from Treat Yourself. The background on the chocolate chip cardstock is done with canvas.

Tuesday, July 25, 2006

Oh, Man!

That is what I have been telling Ian to say when things aren't going the way he wants.

I have been trying to upload a card but it won't let me right now. I will try again later. I have the picture taken and all ready to go so it shouldn't take long once blogger is working again.

Friday, July 21, 2006

Sunflower


I have been playing with my new stamps the last few days. I am loving the new colors and stamp sets. The color spritzer tool is really cool and the cutter kit is a must have! I haven't had a chance to use the chipboard letters or accents yet but will post when I do.

The sunflower is stamped in Cranberry Crisp, the center is Marigold Morning and the leaves are Old Olive. I stamped off the leaves then filled in the white areas with marker. It might be hard to see in the picture but I used the canvas background on the blue.

Monday, July 17, 2006

"Emma"


Here it is! I am so excited to have this on the wall in Emma's room. The colors in the pictures are a little off but you get the idea. The first one and last one are probably the closest to the real color.

I put close-ups so you can see the pictures as well. I used Spring Showers paper and SU buttons and flowers I got from Nicole. The pictures I printed off at home with my Picture Mate I got for my Birthday from Mom & Dad. I love it!

Of course, it looks better in person so if you want to come and have a closer look let me know :)

Some images copyright Stampin' Up!


Cards


I can't take the picture of the big thing I want to show you so I will post these cards to fill in the gap.

These are cards that Mom sent for Ian & Joe. I made them smaller this time because I am posting 3, hopefully they won't be too small.

Some images copyright Stampin' Up! 1990-2006

Stuff

I am so excited, on Friday I got my box of new stuff. I have mounted all of the stamp sets and looked some of the new toys over but haven't had time to play. We had a busy weekend so hopefully I can squeeze in some time later. That is the best thing about Thursday nights- I have to stamp to get the cards ready! I love having that as an excuse to stamp.

I did stay up late Saturday night and finish something I was working on last week. It was supposed to be a B'day present for Emma but I couldn't get my printer working until the day of her Birthday. Hopefully later today I will get to post a pic. (I just need Joe's help with 1 thing) Check back tonight or in the morning and hopefully it will be here.

Oh, and I am going to see if I can post a couple of cards from Emma's and Joe's B'days.

Thursday, July 13, 2006

My Baby is 1 today!


This is the birthday card I made for Emma. I really liked playing with the patterned paper and doing a "girly card", not that I don't normally do girly cards.
The design was from a sketch that mom posted to her blog (thanks for the ideas Mom). I just switched the main image block to the other side and added ribbon. I love the paper, it is the petal patch paper from the summer mini. I think I am going to have to use patterned paper more often.

This is another card I did last night. I found the idea on splitcoast and changed the colors to match the staples I had.

I am not sure how to do the copyright but Mom nentioned that it should be on here so some images copyright Stampin! Up!

Monday, July 10, 2006

Happy Birthday


Happy Stamper (aka Mom). I made this card last night with Mom's Birthday in mind but decided it would make a nice "e-card" so now I have to make another card today and send it late. Oops. I kind of forgot to send one last week so I will have to make a really great one to make up for it! Any excuse to make cards, right?

I hope you have a great Birthday, Mom and wish we were there to celebrate with you. I hope you have lots of time to stamp today.

Friday, July 07, 2006

Using glue sticks

Tip: When using glue sticks on your cards make sure to cover the entire piece with glue (always apply glue to the smallest piece). Once you have placed it where you want it to stay put it on your chair and sit on it. Make sure the ink is dry first though and if there is any excess glue use and adhesive remover to make sure that it doesn't stick to you or the chair.

In case you are wondering if you are reading this right. Yes, you are going to sit on your card. This really does work good. For those of you who don't like glue sticks try it and see if it changes your opinion.

Wednesday, July 05, 2006

Challenge


A few days ago Mom put a challenge on her blog to use some of the things that you haven't used in a while. I had a few minutes this evening to play so I thought I would use my metallic pencils and hodgepodge hardware.

I used the metallic pencils to do resist on the glossy cardstock and then used sponge daubers to apply the ink. The floral background was stamped on Rose Red in the same color. The other 2 colors are Garden Green and So Saffron.

So, I am now putting the challenge out to you (if you didn't read it on Mom's blog). Try using something that you haven't used in a while (or ever!) and see what you come up with. I am really happy I took the time to do it. Thanks for the challenge Mom.

Sneak Peek


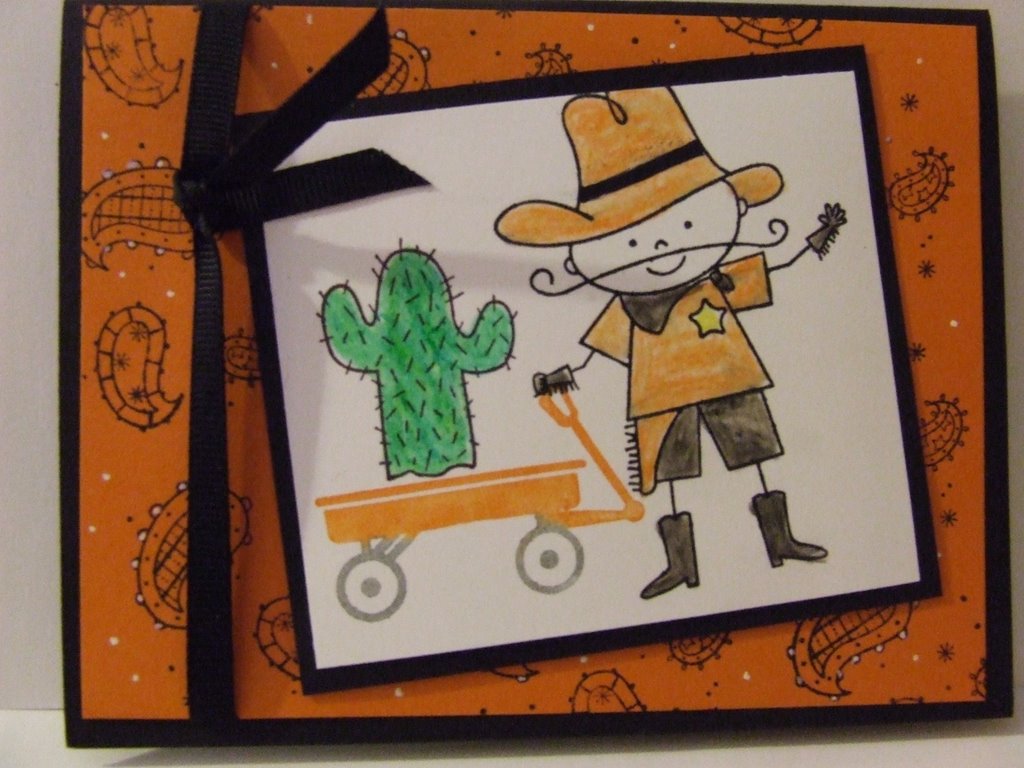
Here is a sneak peek at one of the cards we will be doing this week either Thursday or Friday. I have to keep you in the dark in some way :)

It was mentioned last night that I should give some tips here so here is the first one:

When inking larger background stamps lay the stamp wood side down on the table and use a brayer to apply ink to the stamp (see tip #2) then place cardstock on top of the stamp. Put a piece of scrap paper on top of the cardstock and hold the cardstock in place while you roll the brayer over it to make sure the whole piece is covered.

Tip # 2: When inking your brayer always roll in one direction then lift off the ink and roll again in the same direction (away from you). Don't try to roll the brayer back and forth on the ink as it will create lines. When inking up the stamp do it the same way as you inked the brayer, rolling in one direction only.

Monday, July 03, 2006

Finally

Ok, I finally set up my very own blog! I am a little nervous but also excited. I have been thinking about this for a while now and have finally sat down and just done it.

Please feel free to help me out and give me feedback or maybe send me pics of your cards to post. I will post pics of projects I do at Stamping events and maybe once in a while I may give a sneek peek at cards I am doing for classes so keep checking back.