
Friday, October 31, 2008
Thursday, October 30, 2008
What have I been doing?
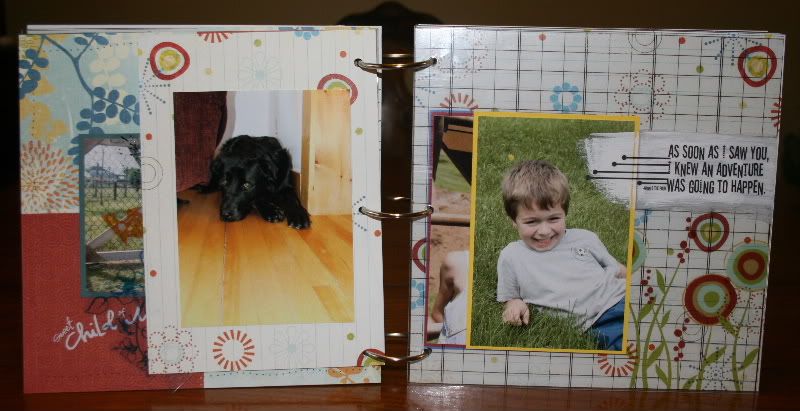
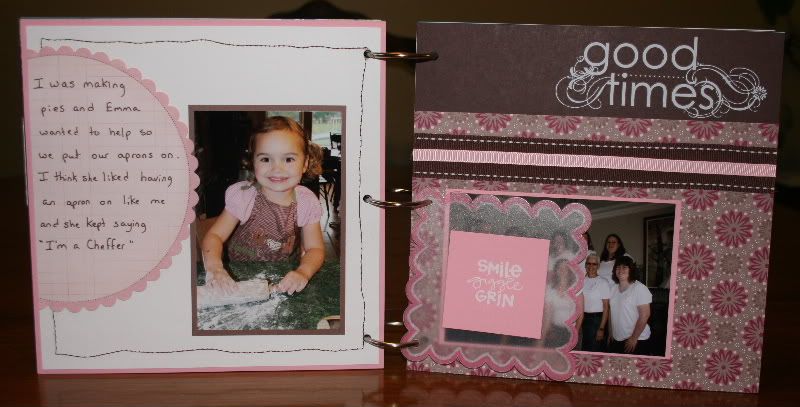
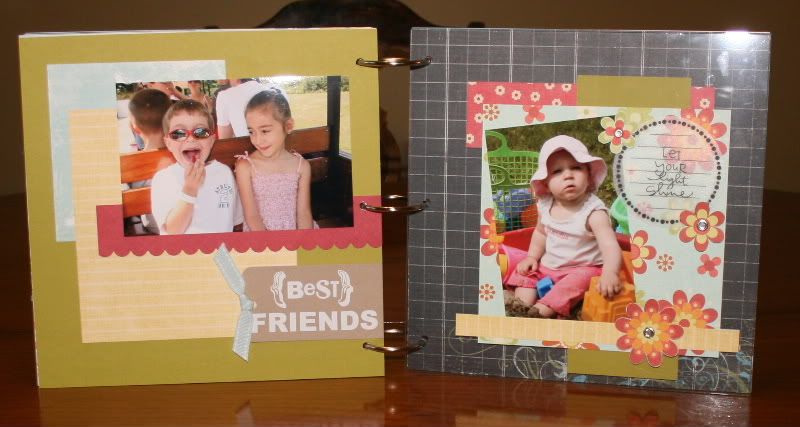
This is going to be a quick post as I am getting my little fairy ready to go to a Halloween party at playgroup. The last few weeks in between working on stamp camp (last weekend), classes, parties and getting ready for Halloween I have been working on a "mini" album (it is 8x8 and not really all that mini. LOL).
I have posted all of the pictures in photobucket here:
http://s479.photobucket.com/albums/rr157/zoripple/mini%20album/?albumview=grid
This is a couple of my favorites although I have to say it looks way better IRL :)
I have posted all of the pictures in photobucket here:
http://s479.photobucket.com/albums/rr157/zoripple/mini%20album/?albumview=grid
This is a couple of my favorites although I have to say it looks way better IRL :)


Friday, October 10, 2008
Happy World Card Making Day
A week late ;)
I meant to post this last weekend and didn't get a chance. I shared the directions for this card for CompuPro and wanted to share them here as well.
Supplies:
Cardstock- Chocolate Chip (10 x 5)
- Baja Breeze (4 ¾ x 4 ¾)
- White (scrap)
Pattern Paper
Chipboard
Ribbon
Ink (pink for bird and brown for sponging)
Nestabilities (scallop square and plain square)
Stamp
Stickles
Brads
Paper piercer
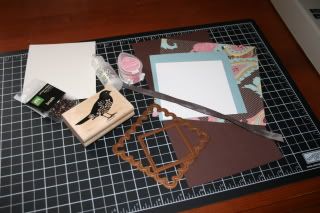
Step 1: Make the frame using Nestabilities. Place the A plate on the bottom of your “sandwich” then the B plate. Put chipboard piece on B plate and then create the frame as shown. Make sure the dies don’t touch as they could crack. If you need to you can use a very small piece of tape to hold them in place but if you use too much it may be too thick to go through. Place C plate on top and put through Cuttlebug.
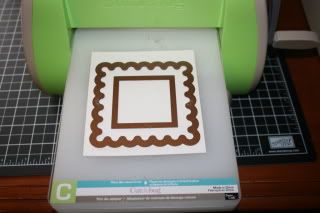
Step 2: Cut pattern paper using same scallop square.
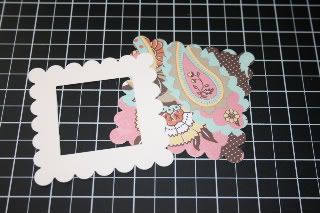
Step 3: Adhere patterned piece to frame, turn over and use craft knife to cut inside of frame.
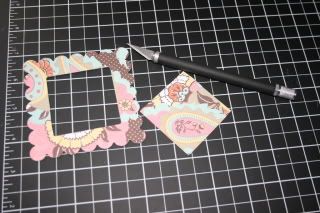
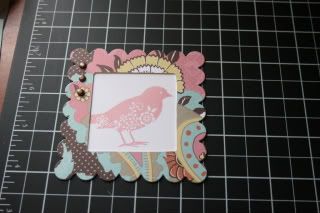
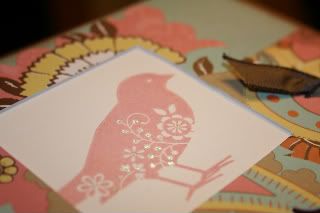
Step 4: Stamp bird image and cut excess off that will show behind the frame. Adhere to back of frame and add brads.
Step 5: Sponge edges of patterned paper and baja breeze cardstock and stamp sentiment on bottom.
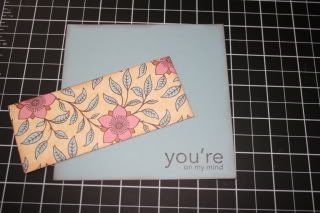
Step 6: Add ribbon. This is a little tip on how I add my ribbon with a few extra pictures to show what I am talking about as I don’t think I can explain it very well. LOL!
a. To measure my ribbon I go by the length of my card/LO and add a couple of inches for the knot.
b. Tie ribbon as if you were tying it around something.
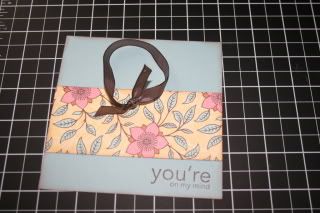
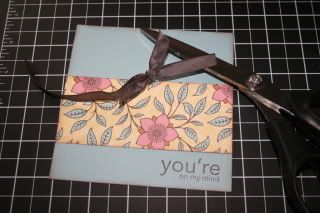
c. If you want the bow on the side, cut the ribbon about 1/3 of the way around the loop from the knot. If you want it in the middle cut it in half.
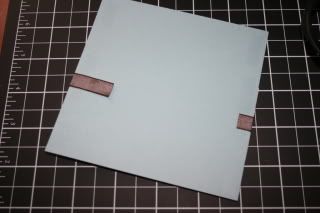
d. Tape ribbon on back.
Step 7: Add stickles.
Finished card:
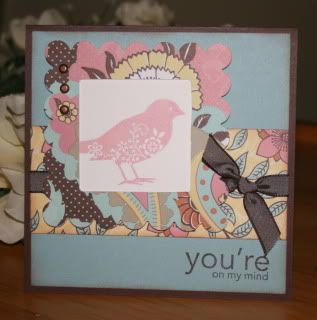
Finished card size is 5 x 5.
I meant to post this last weekend and didn't get a chance. I shared the directions for this card for CompuPro and wanted to share them here as well.
Supplies:

Cardstock- Chocolate Chip (10 x 5)
- Baja Breeze (4 ¾ x 4 ¾)
- White (scrap)
Pattern Paper
Chipboard
Ribbon
Ink (pink for bird and brown for sponging)
Nestabilities (scallop square and plain square)
Stamp
Stickles
Brads
Paper piercer
Step 1: Make the frame using Nestabilities. Place the A plate on the bottom of your “sandwich” then the B plate. Put chipboard piece on B plate and then create the frame as shown. Make sure the dies don’t touch as they could crack. If you need to you can use a very small piece of tape to hold them in place but if you use too much it may be too thick to go through. Place C plate on top and put through Cuttlebug.

Step 2: Cut pattern paper using same scallop square.

Step 3: Adhere patterned piece to frame, turn over and use craft knife to cut inside of frame.

Step 4: Stamp bird image and cut excess off that will show behind the frame. Adhere to back of frame and add brads.

Step 5: Sponge edges of patterned paper and baja breeze cardstock and stamp sentiment on bottom.

Step 6: Add ribbon. This is a little tip on how I add my ribbon with a few extra pictures to show what I am talking about as I don’t think I can explain it very well. LOL!
a. To measure my ribbon I go by the length of my card/LO and add a couple of inches for the knot.
b. Tie ribbon as if you were tying it around something.

c. If you want the bow on the side, cut the ribbon about 1/3 of the way around the loop from the knot. If you want it in the middle cut it in half.

d. Tape ribbon on back.

Step 7: Add stickles.

Finished card:

Finished card size is 5 x 5.
Subscribe to:
Comments (Atom)


